Reordering Items on Your Menu Page
This guide will show you how to reorder the items that appear on your Smart Online Order menu page. You can organize items by dragging and dropping them into your preferred order.
Step 1: Log in to Your Smart Online Order Page
To begin, log in to your Smart Online Order page using the information you received during the setup of the Smart Online Order application.
Step 2: Access Categories & Items
-
From your WordPress dashboard, click on Clover Orders.
-
Select Settings.
-
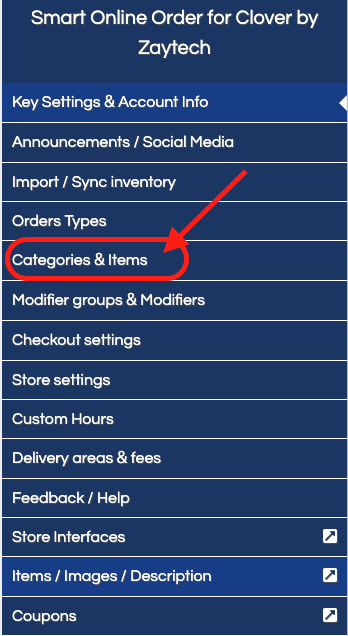
Choose Categories & Items.

Step 3: Select a Category
-
Locate the category of items you want to reorder.
-
Click on the Settings option for that category.

Step 4: Reorder Items
-
Scroll down to the bottom of the category settings page.
-
Use the drag-and-drop feature to rearrange items into the order you want them to appear on your menu page.
-
Once finished, click the red Save button to apply your changes.


Step 5: Reset Item Order (Optional)
If you ever need to restore the item order to the way it was originally imported from Clover:
-
Simply click on the blue Sync button.
-
The order will reset to its default import order.

Summary
-
Navigate to Clover Orders → Settings → Categories & Items.
-
Choose your category and rearrange items by dragging and dropping.
-
Save your changes to update the menu display.
-
Use the Sync button if you want to reset items to their original order.