To make changes from the front end (what your customers see when they enter your website) you will first need to be logged into your Smart Online Order/WordPress site.
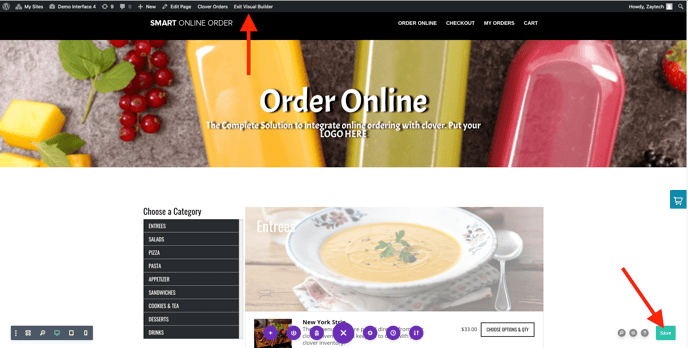
Once logged in, go to your store page and click on the "Enable Visual Builder" button toward the top, which will allow you to edit the page directly.

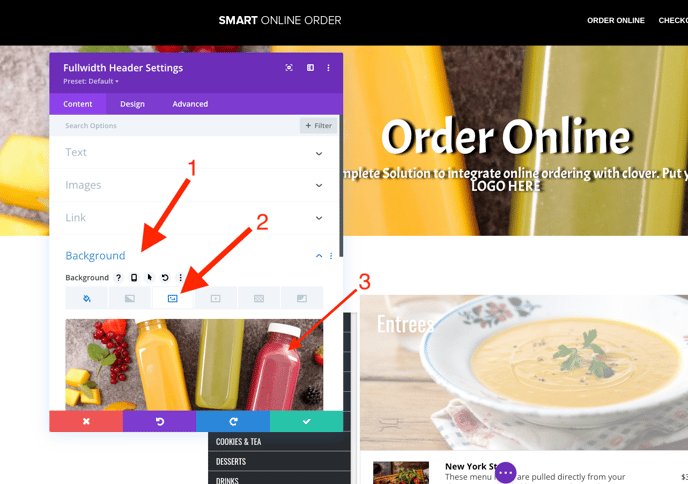
Next, move your mouse over the header section and a grey toolbar will appear. Click on the Settings icon (2nd icon) to open the Header Settings. This will bring up a purple pop-up menu.
From there, navigate to Background > Background Image and click on the image section, as seen in the image below. You will then be able to either upload an image or select an image from your WordPress Media Library.
Once you have selected a new header image, click on the green checkmark in the purple popup window, then click on the purple circle with the 3 dots and more options should appear, including a green "Save" button.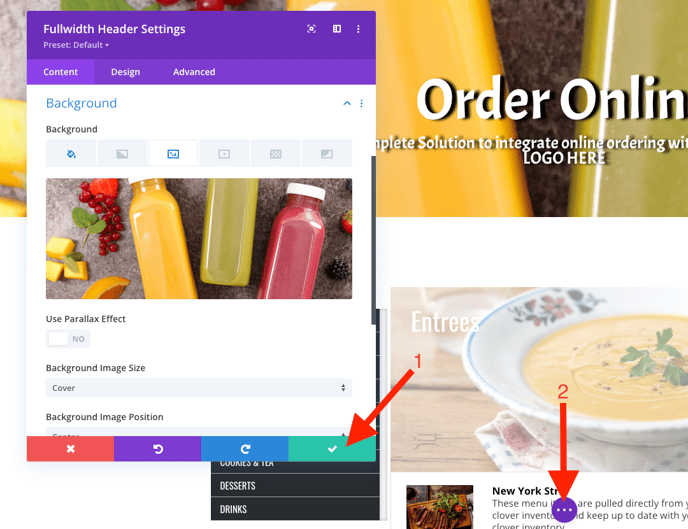
Lastly, click on "Save" and then the "Exit Visual Builder" button at the top of the screen.