Accessing the settings
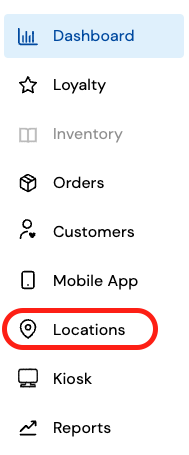
In order to add new menus to your kiosk you will need to login to your provided login page and then click on "locations" from the left-hand side of the page and click on your store location.
Adding the new menu
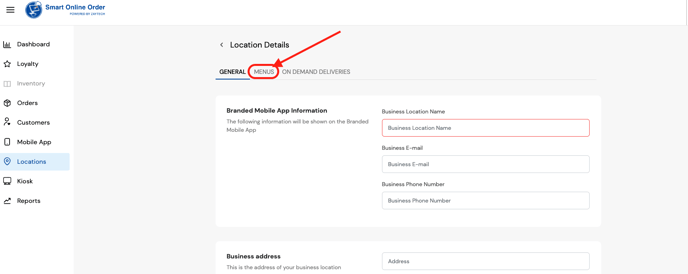
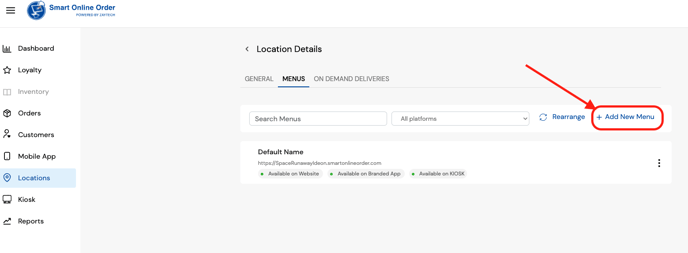
From there click on the section called "menus" then click on "add new menu". You will now be asked to add a data source.
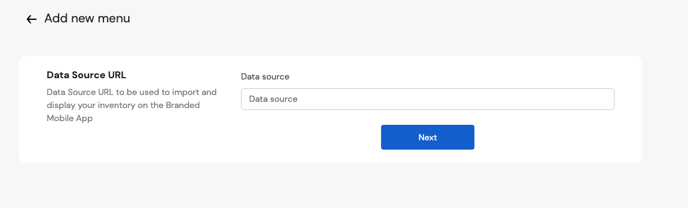
The data source will be the URL of where you have your Smart Online Order menu. For example, if you are using one of our subdomains you will be entering something along the lines of:
"https://examplenameofapossiblesmartonlineordersubdomainnamehere.smartonlineorder.com"
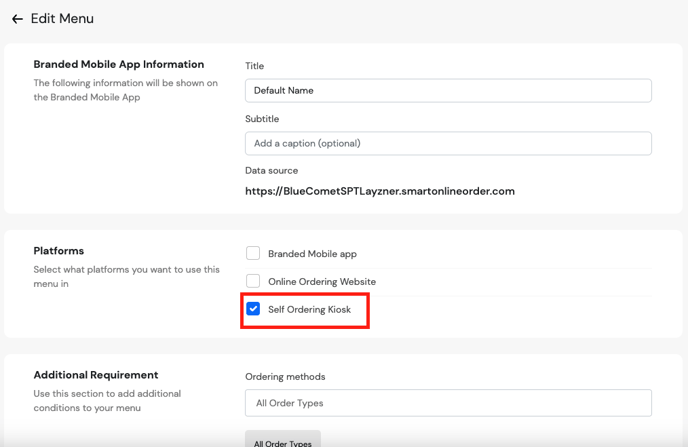
On the next page, you will be able to configure the new menu such as choosing which order types and categories are to appear.
In order for this menu to appear on the kiosk software you will need to ensure that the "Self Ordering Kiosk" option is enabled.
Once you have completed your changes ensure that you click save from the bottom of the page and your changes will be saved.
Returning to the kiosk
For the changes to be applied to the kiosk you will need to completely close the Smart Online Order application from your Clover device and then reopen the app else reboot your clover device. If you cannot do either; the changes should appear within the next few hours.