Access your Smart Online Order website plugin.
First login to the website where you have your Smart Online Order website plugin installed.
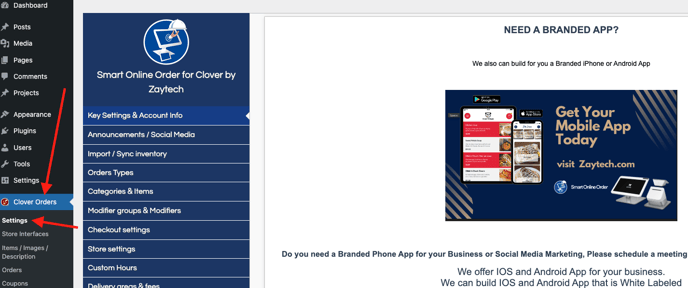
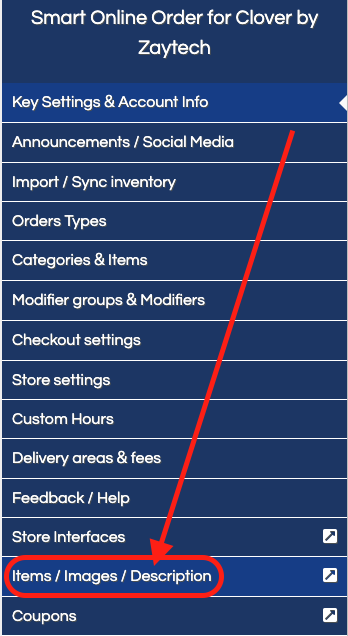
Access the Items/Images/Descriptions page.
Next on the blue menu click on the option called "Items/Images/Descriptions"
Add an image to an item.
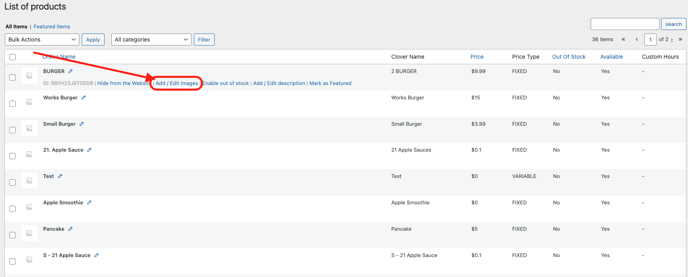
On the following page, you will see a list of all line items imported at the time of the last manual sync and clean.
Hover over the item that you would like to add an image to and you will see a menu appear on the item and click on "add/edit image"
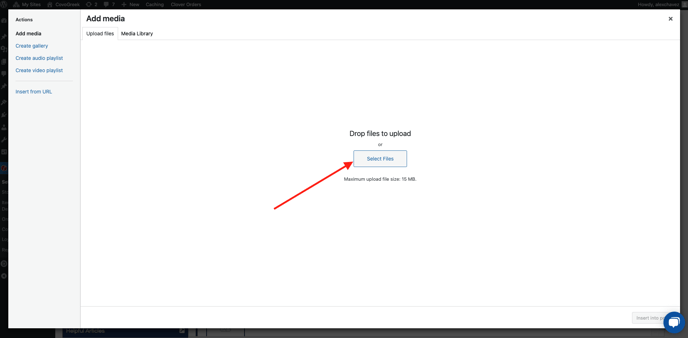
A new page will open in which you can click on upload an image to open a section where you can upload images from your computer.
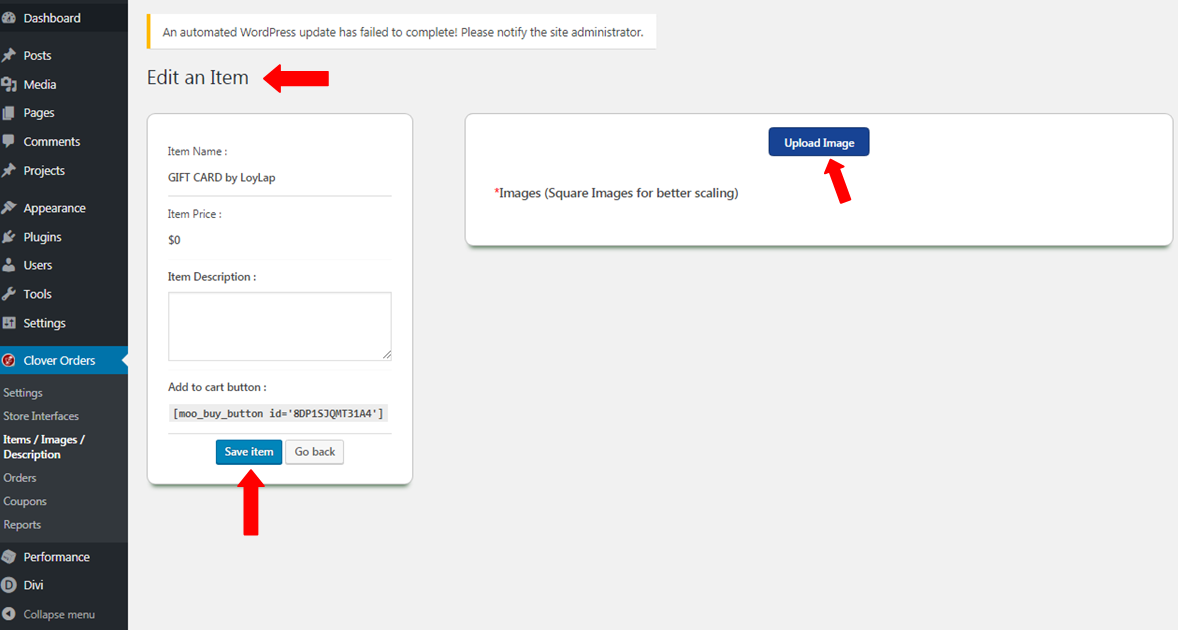
Upload an image and press Insert to post at the very bottom which will save the image and attach it to the item.
That item will now have an image attached, repeat the process as necessary to add images to the remainder of your inventory.