In order to choose/change/edit settings for your Smart Online Order interface you will need to access your Smart Online Order website plugin.
Access your Smart Online Order website plugin.
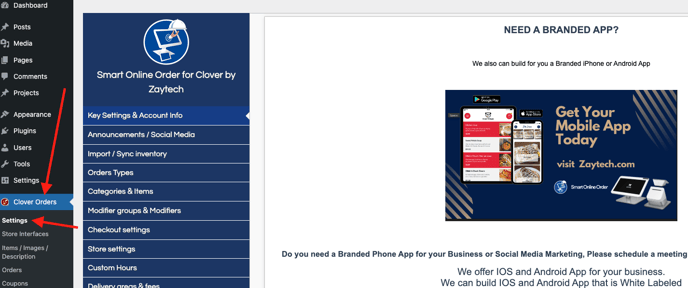
First login to the website where you have your Smart Online Order website plugin installed.
Access the Store Interfaces page.
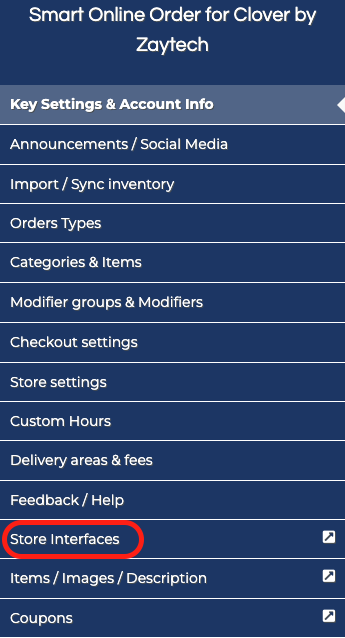
Next on the blue menu click on the option called "Store Interfaces"
Customize Store Interfaces
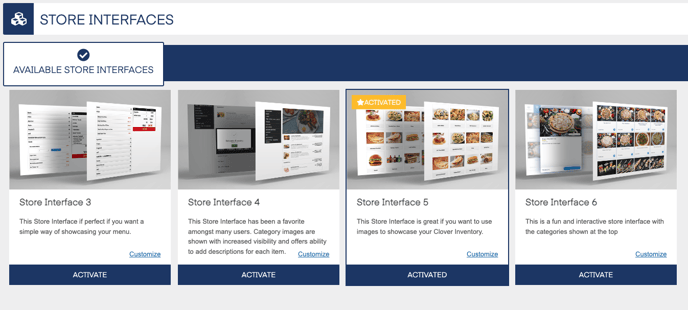
From the following page, you can choose what store interface to use as well as make customizations to the currently active store interface/store interface by clicking on the customize option on the specific store interface.
- By clicking on activate on a theme your store interface will be immediately changed, you would just need to go to your ordering page to see the new interface in action.