Access your Smart Online Order website plugin.
First login to the website where you have your Smart Online Order website plugin installed.
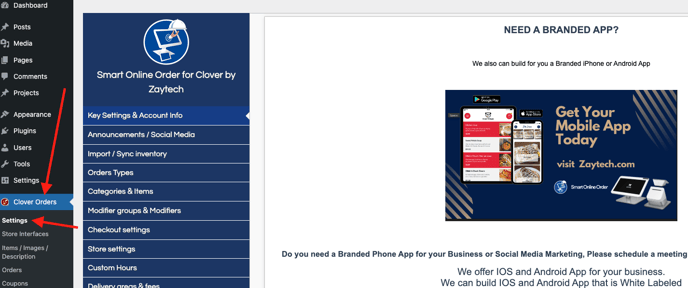
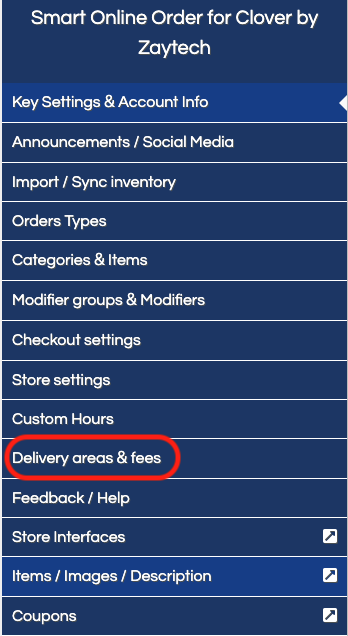
Access the delivery areas and fees page.
Next on the blue menu click on the option called "delivery areas and fees"
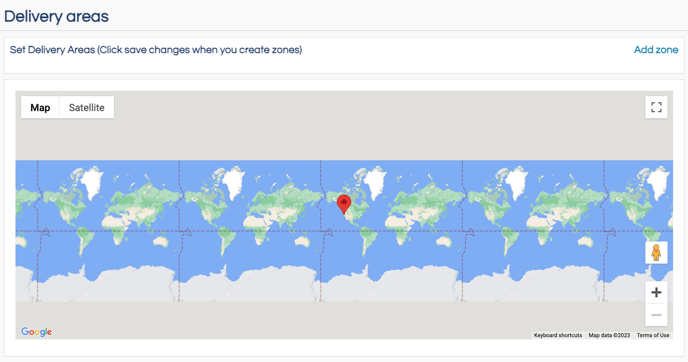
Setup Delivery Zones
From the following page click on add zone.
From the dropdown menu create the delivery zone that you would like to use for location ensuring to complete every option including choosing the color and then click draw zone in order to confirm what the zone will look like on the map.
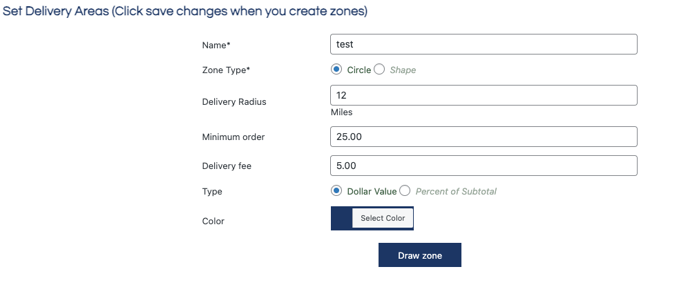
Once drawn on the map and you confirm that the zone is set up to your liking choose to validate the selected zone to add the zone as a possible zone.

Save your changes
Scroll down to the bottom and click on save changes when you have completed setting changes to your liking.
Once delivery zones are set up to your liking ensure that you have a delivery order type setup to work with your delivery zones.
Access the order types page
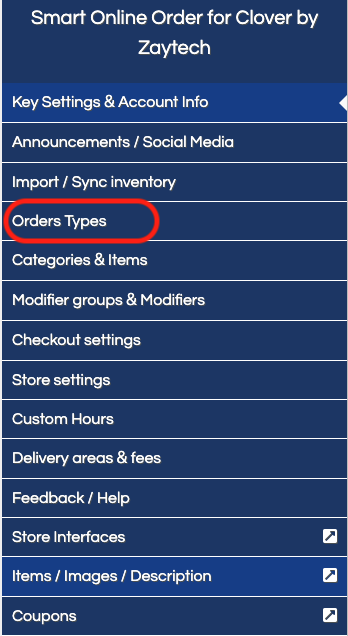
Next on the blue menu click on the option called "Order Types"
From the following page choose an order type that you would like to use as your delivery order type and click on edit.

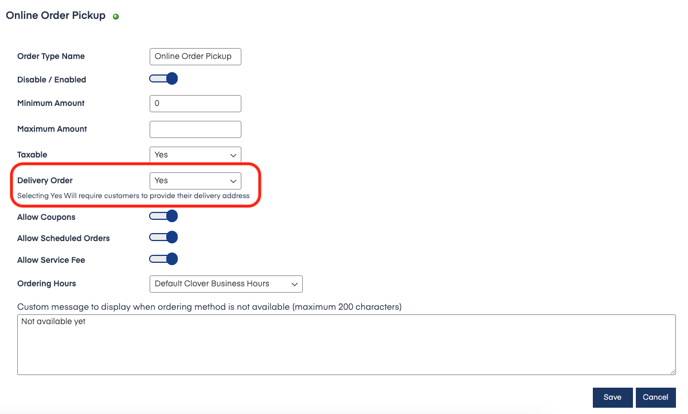
This will have users that choose this option enter their chosen delivery address which will be compared to the delivery zones that you have previously set up.
Save your changes
Click on save changes when you have completed setting changes to your liking.