Setting Up Hours and Receipts to Show Customer Notes and Info
Make changes on your Clover Dashboard so that receipts and ordering hours allow for the smooth operation of your online ordering system.
Update your Clover Business Hours
In order to update your hours on your Smart Online Order system you will first need to ensure that your Clover Business hours are correct.
Access the Business Information Page:
On the top right of the page click on the gear icon:

From the page that appears choose the bottom option called "View All Settings"

Click on the business hours section:
From the following section click on the business hours page and update your hours as needed:

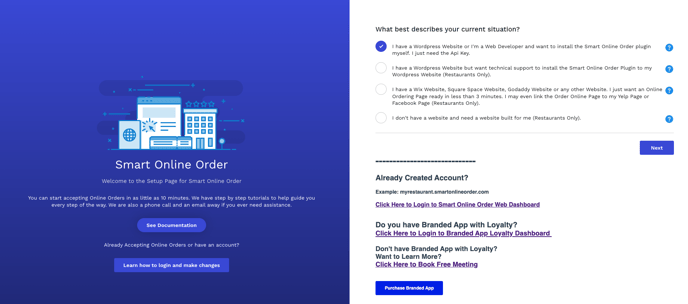
Open Smart Online Order From your Clover Web Dashboard to Force a Sync
Once you have confirmed that your hours are up to date, return to the main page of your Clover Dashboard and click Smart Online Order from the left-hand side of the menu. Doing so will force a sync of your business hours to your Smart Online Order system. Once the next page finishes loading, Which is the Smart Online Order setup page, you can exit the Clover Dashboard, return to your Smart Online Order system, and refresh the page and it should now be using your updated Clover Hours.
Access the Order Receipts Page
From the previous page go to "Order Receipts"
Ensure that the options "Order Note" and "Show customer info" are selected then press save.
Access the Order Receipts Page
From there on the left-hand side menu bar scroll to the bottom and then click on "Account & Setup" from the following page then go to "Payment Receipts"
Ensure that the options "Order Note" and "Show customer info" are selected then press save.

