What Are Partial Payments
Partial Payment occurs due to a pricing mismatch between your Clover Inventory and your Smart Online Order online ordering system, typically due to prices being updated on your Clover Inventory that has not yet been synced to reflect the changes onto your Smart Online Order Ordering system; similarly, missing items occur when items and or modifiers have been removed or added to your Clover inventory but again not synced to your Smart Online Order ordering system.
When there are two different prices, for example:
Pepsi was 1.00 on both Clover and on the Website.
Then someone changes it to 1.05 on Clover - or deletes the item or modifier or moves it.
This will still show as 1.00 on the website, or a missing modifier or missing if it was changed. The price doesn’t automatically change on the website.
Therefore it will show as partial payment, missing item, or show the customer owes 5 cents. - or it will show a missing item or missing modifier or have an incorrect amount.
Perform a Clean & Sync to add or remove items from your Clover Inventory
Whenever you add new items or remove old items from your Clover Inventory you will need to perform a Manual Sync and Clean from the back of your Smart Online Order website plugin to resolve the issues with missing items and manually update pricing.
How To Perform a Manual Sync and Clean
Enable auto-sync to automatically read new pricing from your Clover Inventory
The auto-sync option available on your Smart Online Order website plugin has the ability to read pricing changes of items that have already been previously imported to your Smart Online Order inventory.
Access your Smart Online Order website plugin.
First login to the website where you have your Smart Online Order website plugin installed.
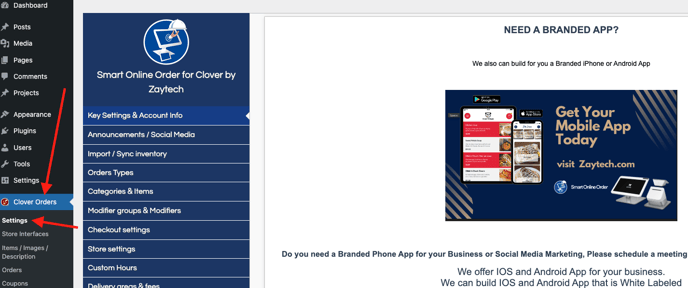
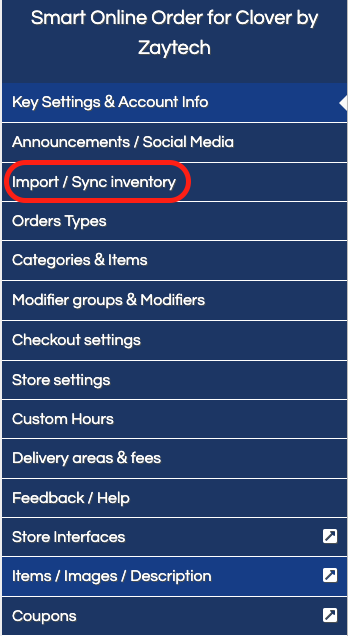
Access the Import/Sync Inventory page.
Next on the blue menu click on the option called "Import/Sync Inventory"
Enable Auto Sync
From the option called auto sync enabled the auto sync option.
