Requirements
The kiosk portion of the Smart Online Order application will require you to have a Smart Online Order menu set up so that the kiosk would be able to pull information from it.
1. Login to the loyalty Dashboard.
Now that you will be using the kiosk portion of Smart Online Order and have the kiosk software you will now be required to create a new account that will be used solely for the loyalty dashboard which is either available on the Smart Online Order WordPress website settings or via the following link:
Smart Online Order - Loyalty Dashboard Login Page
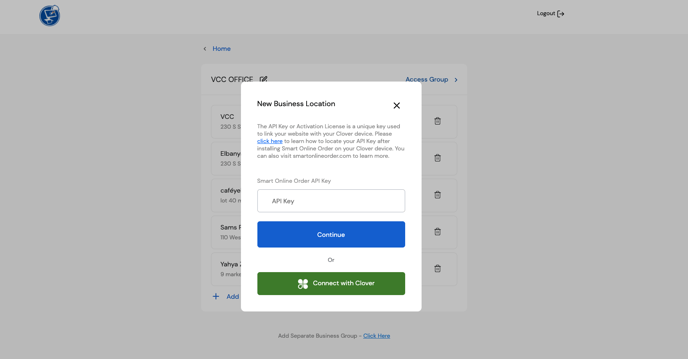
If it is your first time logging in you will need to set up your location/s by getting the Smart Online Order API/s from your Clover Dashboard (How to get your Smart Online Order API key) and then adding them to either the first-time setup page or by clicking on your business name on the top right and then manage locations.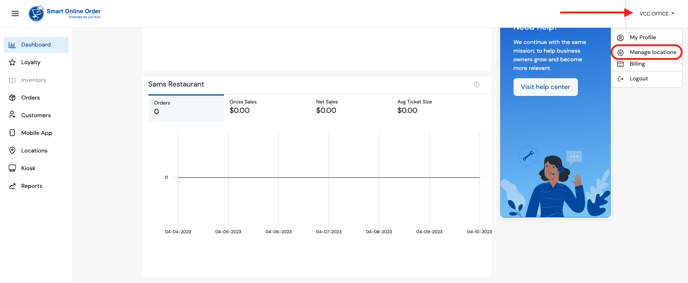
2. ensure your location's kiosk menu is set up correctly.
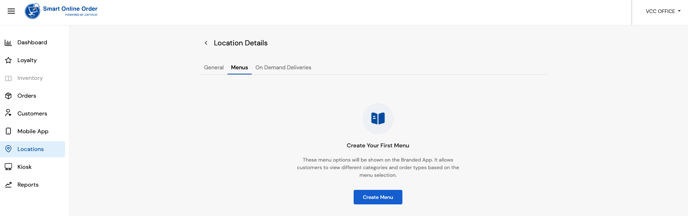
Next under the locations tab click on the menu option and either set up a menu if you do not have one already or if you do have a menu setup click on add new menu and enter the URL of where you have your Smart Online Order system installed such as for example if you are using one of our provided subdomains it would be something along the lines of yourbusinessnamehere.smartonlineorder.com.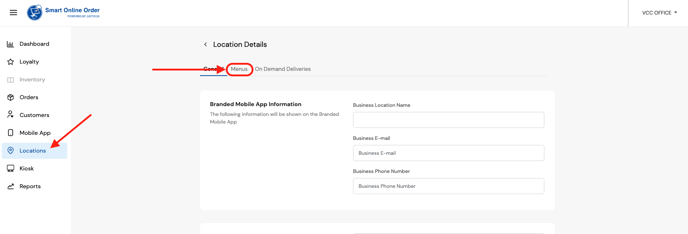
Once you have added the menu location you will be taken to a new page where you can customize the menu information: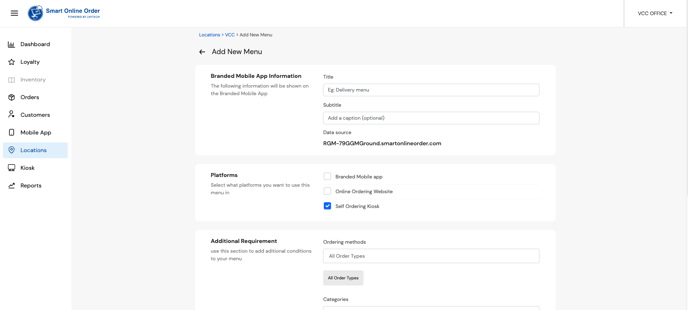
Ensure that the option "Self Ordering Kiosk" is enabled so that this menu will appear on your kiosk and ensure to customize which order types and categories will appear on the kiosk on the options provided, if you want all order types and categories leave the "all" options and continue to ensure everything else is set up to your liking then save the changes from the bottom of the page, and repeat as necessary for adding multiple menus for use with your kiosk.
3. Configure the settings of the kiosk
Next, click on the kiosk option from the left-hand side of the page which will take you to a directory showing all locations that you added in the previous step. Click on the one that you want to configure the kiosk settings of.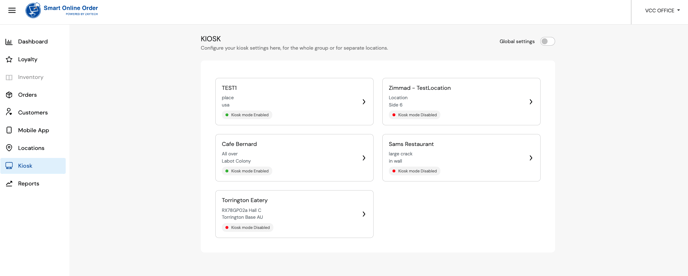
On the following page, you will be able to configure the kiosk settings such as what it displays, and what color its theme will be as well as print settings for the kiosk.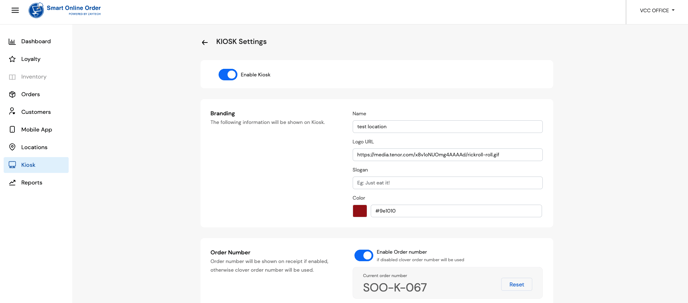
The feature to be able to set up a service charge for your clients to pay is available near the bottom of the page under the advanced settings drop-down menu. Once all your settings have been set up click on the save button at the bottom of the page to save your changes.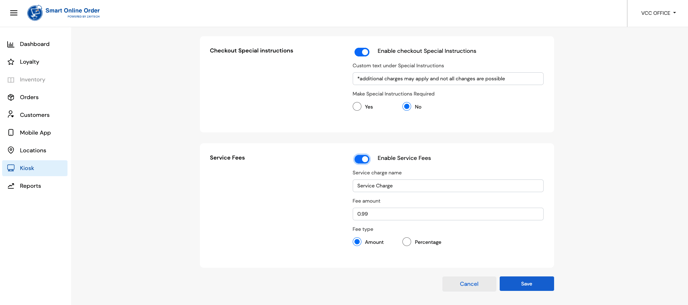
4. Test out your kiosk, and change the settings as needed.
You will now be more or less done with the setup and can return to your Clover device and test the kiosk by first Closing out your Clover Smart Online Order application via the app and then reopening it.
You should now see a kiosk option near the top of the page next to "Text Customer, Pause Online Ordering, and Settings/Printing".
- If you still don't see the option upon rebooting please confirm what version of Smart Online Order is installed and see if you have an update available to download on the Clover App Store and double-check your internet connection to ensure that you are able to connect to Clover's servers, else reach out to the support team for assistance.
Once you click on kiosk your device will now enter kiosk mode,
Test out the kiosk and if necessary repeat the steps above to make changes as necessary; then your kiosk will now be ready to accept orders.